#Shot Data
#Background
Before I explain the workflow behind Shot Data, let me explain the concept of “Sound Lock”. We all know what “Picture Lock” is.
Picture lock is a stage in editing a film or editing a television production. It is the stage prior to online editing when all changes to the film or television program cut have been done and approved. It is then sent to subsequent stages in the process, such as online editing and audio mixing. Any last-minute changes can force portions of subsequent work to be redone.
Source: Wikipedia
In an analogous fashion, Sound Lock is a stage in a film or editing a television production where a sequence is edited before the production starts principal photography. In other words, before the project is being shot, in the pre-production or development stage. You could call it “Pre-Editing” as well. The filmmaker would use a series of concept images to construct a timeline.
#What is Sound Locking?
Now, you might ask, where does the Sound component come in? In projects like Music Video, music follows higher precedence over visuals. Not that the visuals are not important, but in 99% of all Music Videos, the music will always be composed and recorded first. Thus, with that piece of the Music, it becomes the “Locked” component. It will never change. The filmmaker now uses that music track as an anchor point to construct the matching visual or rather envisioned visuals against that music right within the NLE. These envisioned visuals could come as a set of reference images, hand-drawn sketches or even 3D generated shots. It mostly revolves around the filmmaker’s workflow.
Sound Locking is not an entirely a new concept. Filmmakers, Music Video Directors and the animation industry have utilised this technique for a long time. The biggest hurdle from the above mentioned workflow is, there is no path to bring shot and scene information out from NLE to on-set usage meaningfully. Even if you have edited and prepared the sequence, the only method within the NLE is to export that sequence out as a rendered video file. It is not entirely useful, and shot information is not entirely homogenous. You are also required to do a Shot List manually based on the envisioned visuals. Which would precipitate tons of physical print out for various departments in productions, which yields a non eco-friendly work practice.
However, there are applications on the market like Shot Lister, Studio Binder or Celtx that allow you to develop industry standard Shot Lists. But all seems to tackle the Shot List construction from a script level. There is undoubtedly nothing wrong with this approach. The script is the anchor point, as screenplay is the foundation of every production.
For Music Videos and music driven narratives, sound or music invariably takes higher precedence. You can’t visualise music on a sheet of paper except on a musical score sheet and you can’t conceivably construct a Shot List from a score sheet.
#The Most Resilient Parasite
What is the most resilient parasite? Bacteria? A virus? An intestinal worm? An idea. Resilient... highly contagious. Once an idea has taken hold of the brain it's almost impossible to eradicate. An idea that is fully formed - fully understood - that sticks; right in there somewhere. - Cobb
The thought of Shot Data workflow sparked in my mind some 7 years ago when working on various commercial projects. But no proper streamlined workflow or application was available at that period in time.
Furthermore, most database applications were not exclusively mainstream. You had your usual suspects like Microsoft Access and FileMaker Pro. You would certainly need to engage a consultant to develop your custom database application, which is complicated and costly.
In recent times, there is an emergence of cloud based database applications, like Notion and Airtable. With Data being the centre-point of our lives, such applications provide new intuitive features in a cost effective manner.
Starting with Shot Data, I aim to streamline and optimise the process for Shot List generation from within Final Cut Pro.
#Enter Shot Data
#Why Final Cut Pro?
Final Cut Pro is a radical and controversial NLE. There are users who loathe it and there are users who espouse the application. I am the latter. Apart from speed, Final Cut Pro is extremely powerful when it comes to handling Metadata. In particular, it’s FCPXML file. The *.fcpxml file contains most of the timeline’s information, including Metadata from custom Motion Titles.
Utilising the Sound Locking principles, Shot Data is a 2-part workflow and a tool that allows you to generate Storyboard or Shot-List from within Final Cut Pro to Notion. It utilises a custom Motion Template as a basis for Shot’s Data tabulation. Hence the name Shot Data.
#Why Notion?
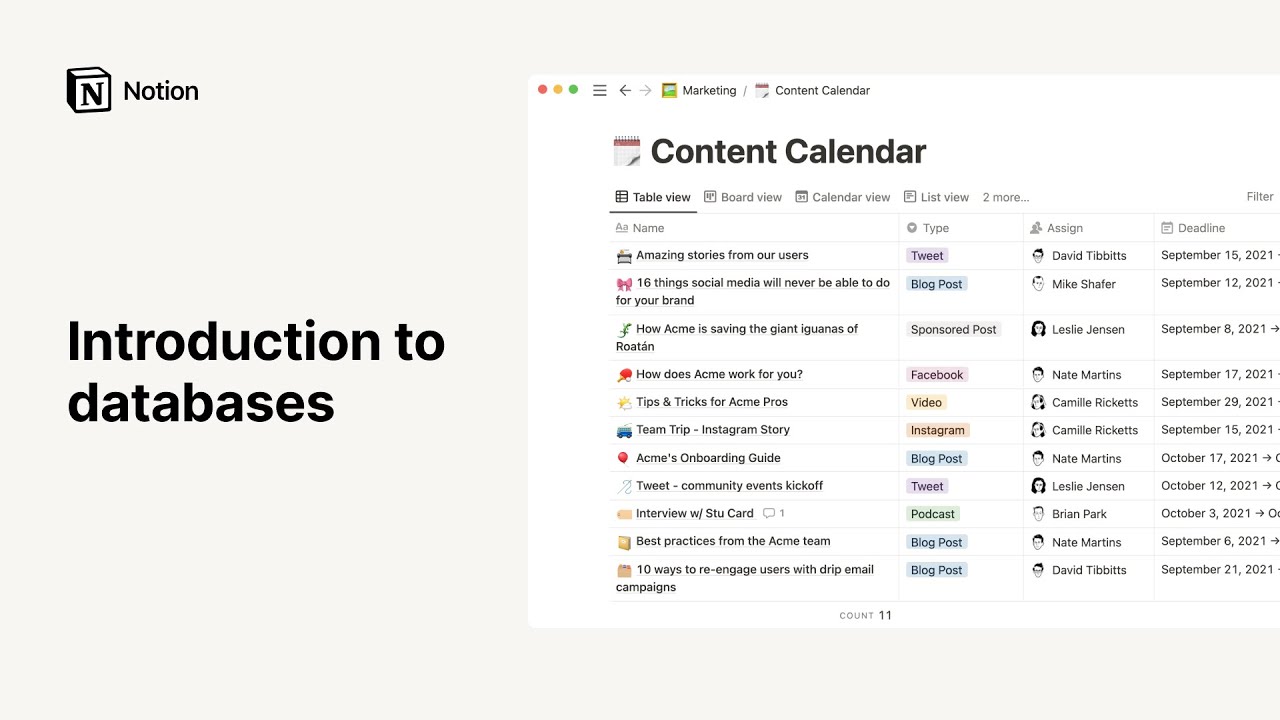
Notion is a single space where you can think, write, and plan. Capture thoughts, manage projects, or even run an entire company — and do it exactly the way you want. Notion provides the building blocks and you can create your own layouts and toolkit to get work done at an affordable cost.
Notion’s workspace allows you to write in a beautiful clean space, build your own personal wiki (with endless layers of content), plan using a kanban view, a calendar or a simple list view and last, but not least, to capture your workflows and record everything by creating databases.
If you are familiar with Final Cut Pro’s Smart Collections, you will feel right at home with Notion’s database. Notion’s database allows you to create custom views with specific filters and sort criteria.
#Introduction to Notion’s databases
One feature that sets Notion apart from other database (i.e Airtable) is every entry or record is its own editable page. The record you enter into your database can be opened as its own Notion page, where you can layer or add in any information or blocks you want.
#Basic Usage - Shot Data
- Download and Install the latest version of CommandPost from GitHub.
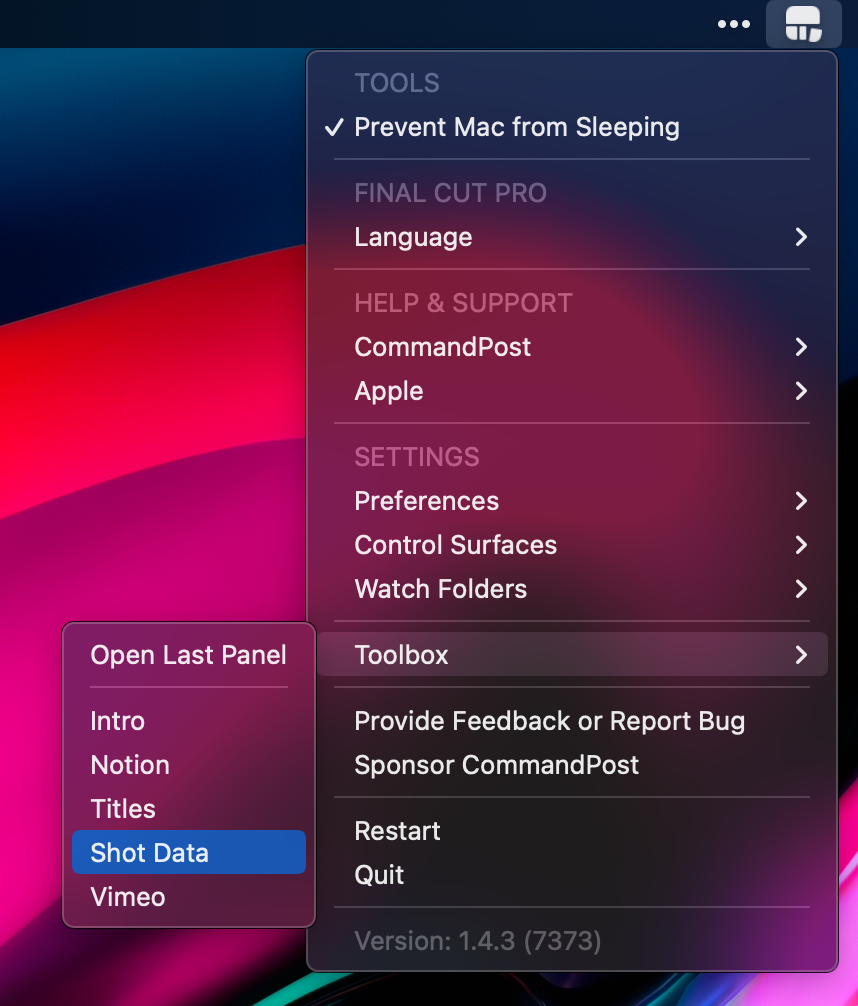
- Select Shot Data from the CommandPost’s Toolbox Menu.
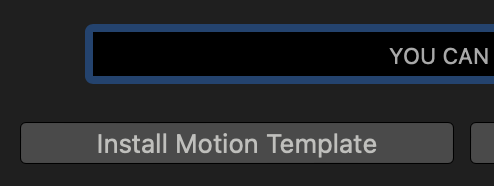
- Click Install Motion Template from the Shot Data’s Toolbox
- Launch Final Cut Pro.

Create a new Library of your choosing.
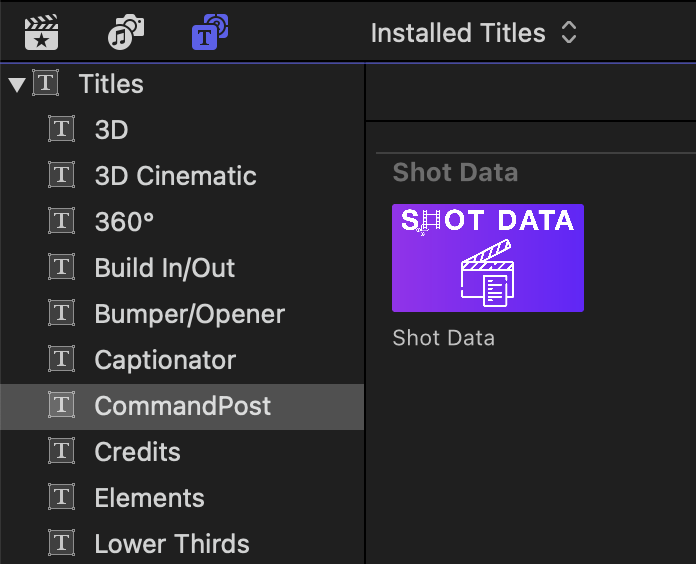
In Titles and Generators sidebar, you will now see the Shot Data Template under CommandPost category.
- Create a new Project with your desired Resolution and Frame Rate.
Info
Shot Data Template is design for 4K UHD, DCI & CinemaScope Resolutions.
- Append a Custom Solid to the Timeline.

Info
Custom Solid is used for this example. You can use any other available Solids from the Generators.
Info
There is an apparent bug in Final Cut Pro where Custom Generators with complex rigging and layers does not preview the background colour in the timeline. Hence, we have to use default Custom Solid Generator for visual indication within the timeline.
- Connect your desired Music or Score Track to the first clip.
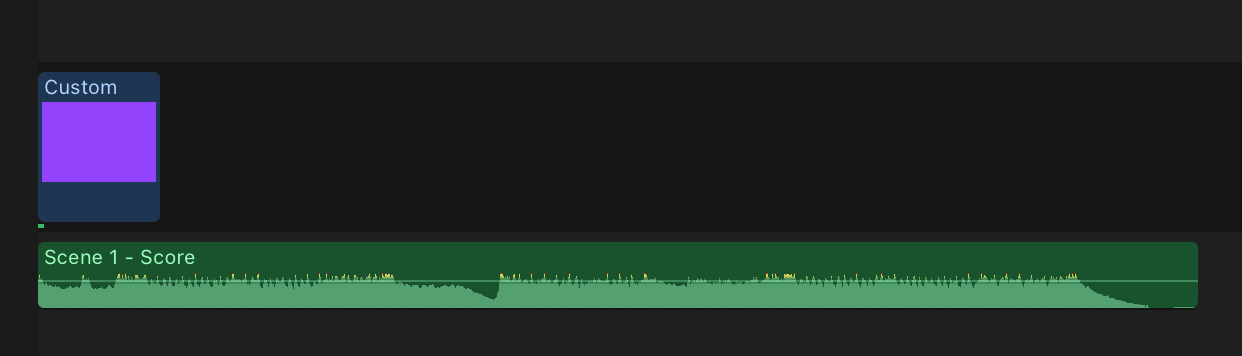
Info
You can completely use Shot Data without a Music Track. It all depends on your project’s workflow and requirements.
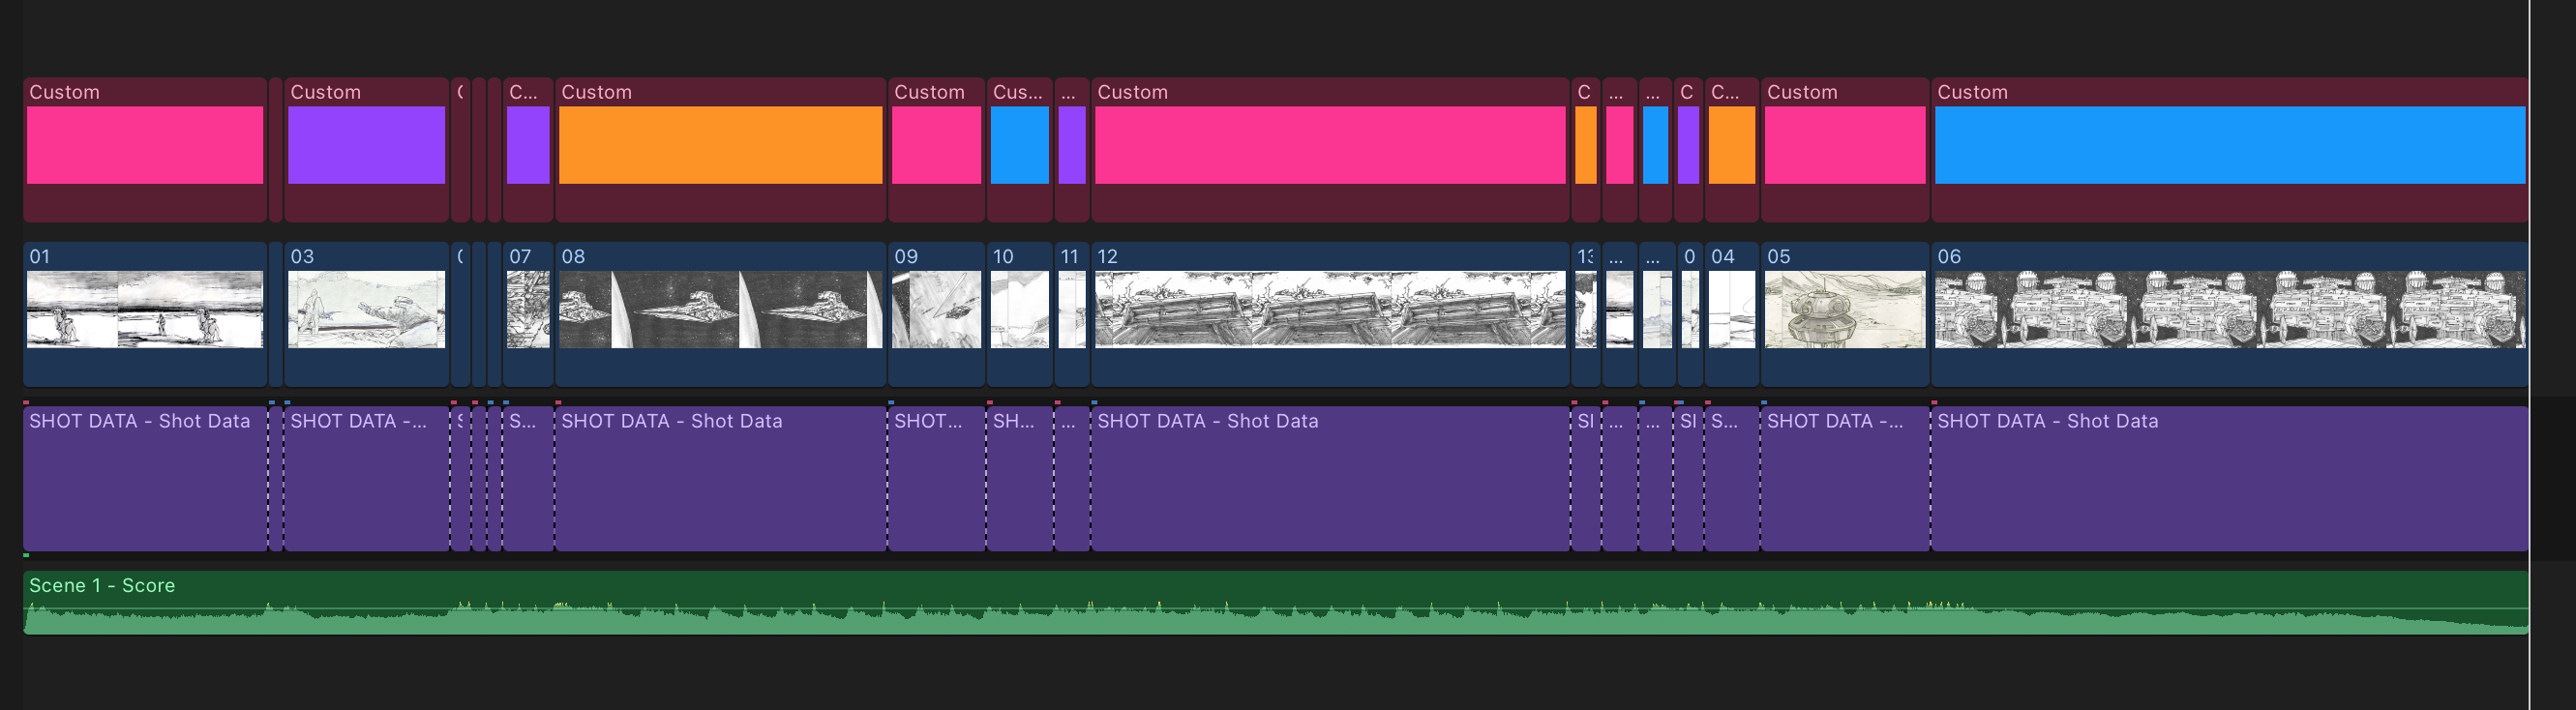
- With the Custom Solid Generator, you can start editing using the music’s structure and rhythm.
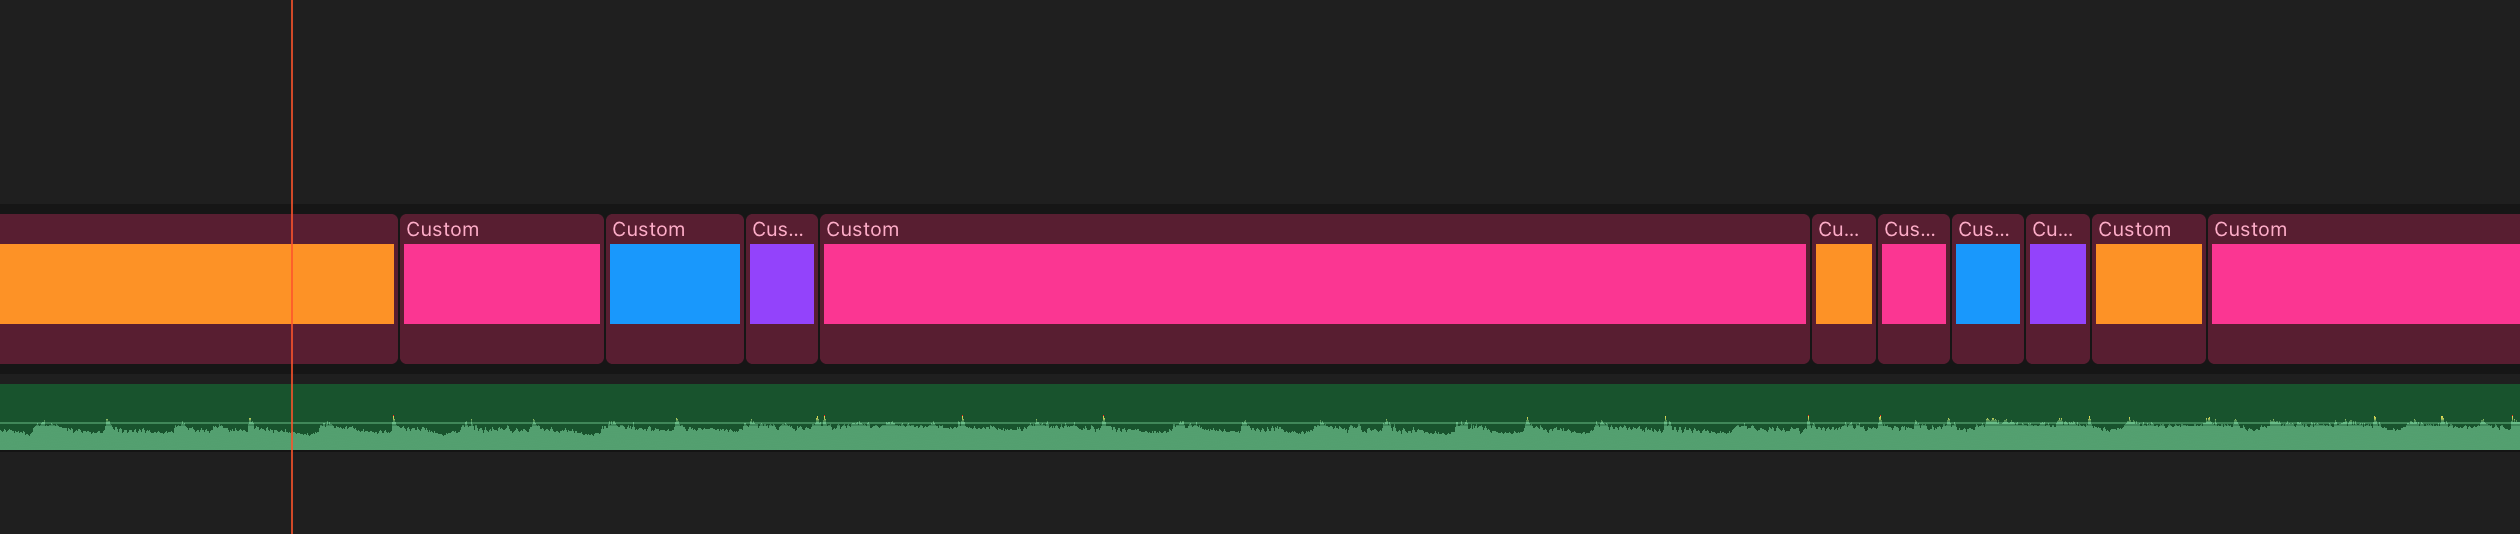
Info
You could change the colour of each Custom Solid to provide you a visual indication. For quicker reusability, create a set of Custom Solids with different colours. And you could also create a separate Role for all the Custom Solids and tag with a different colour.
- Once you have completed editing the timeline with Custom Solids, you can now proceed to connect your reference images.
Info
These reference images, could be hand-drawn sketches, movie stills, photographs or even 3D rendered images.
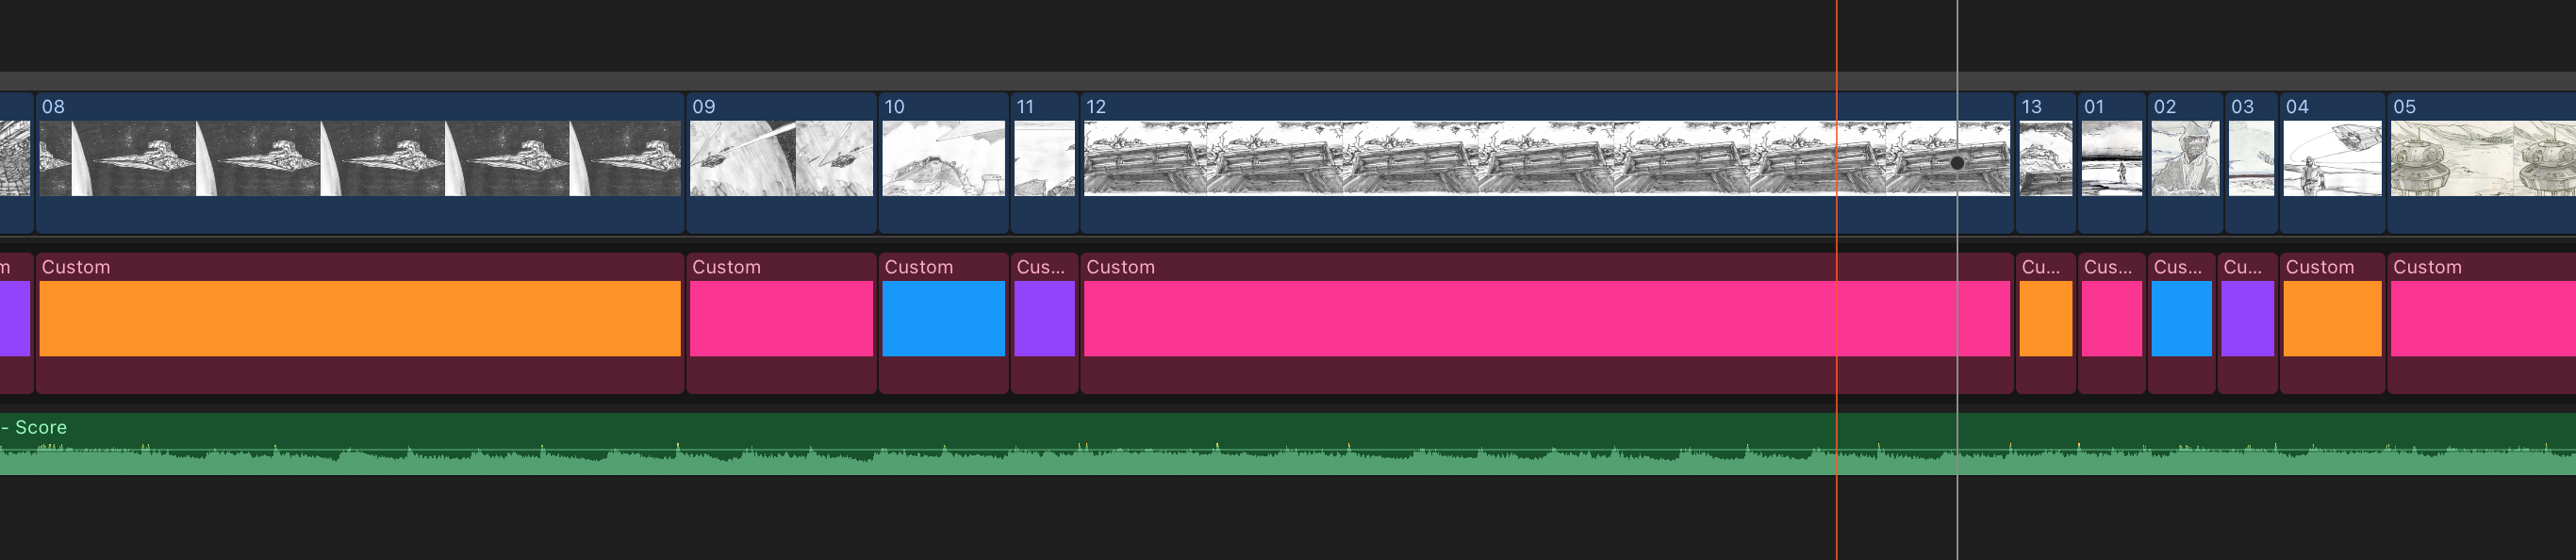
Info
Upon connecting the images to the timeline, select all the images. press CMD + G to create a secondary storyline. With secondary storyline, you can easily snap the images to each edit point.
- Now, Connect Shot Data Template to the timeline.

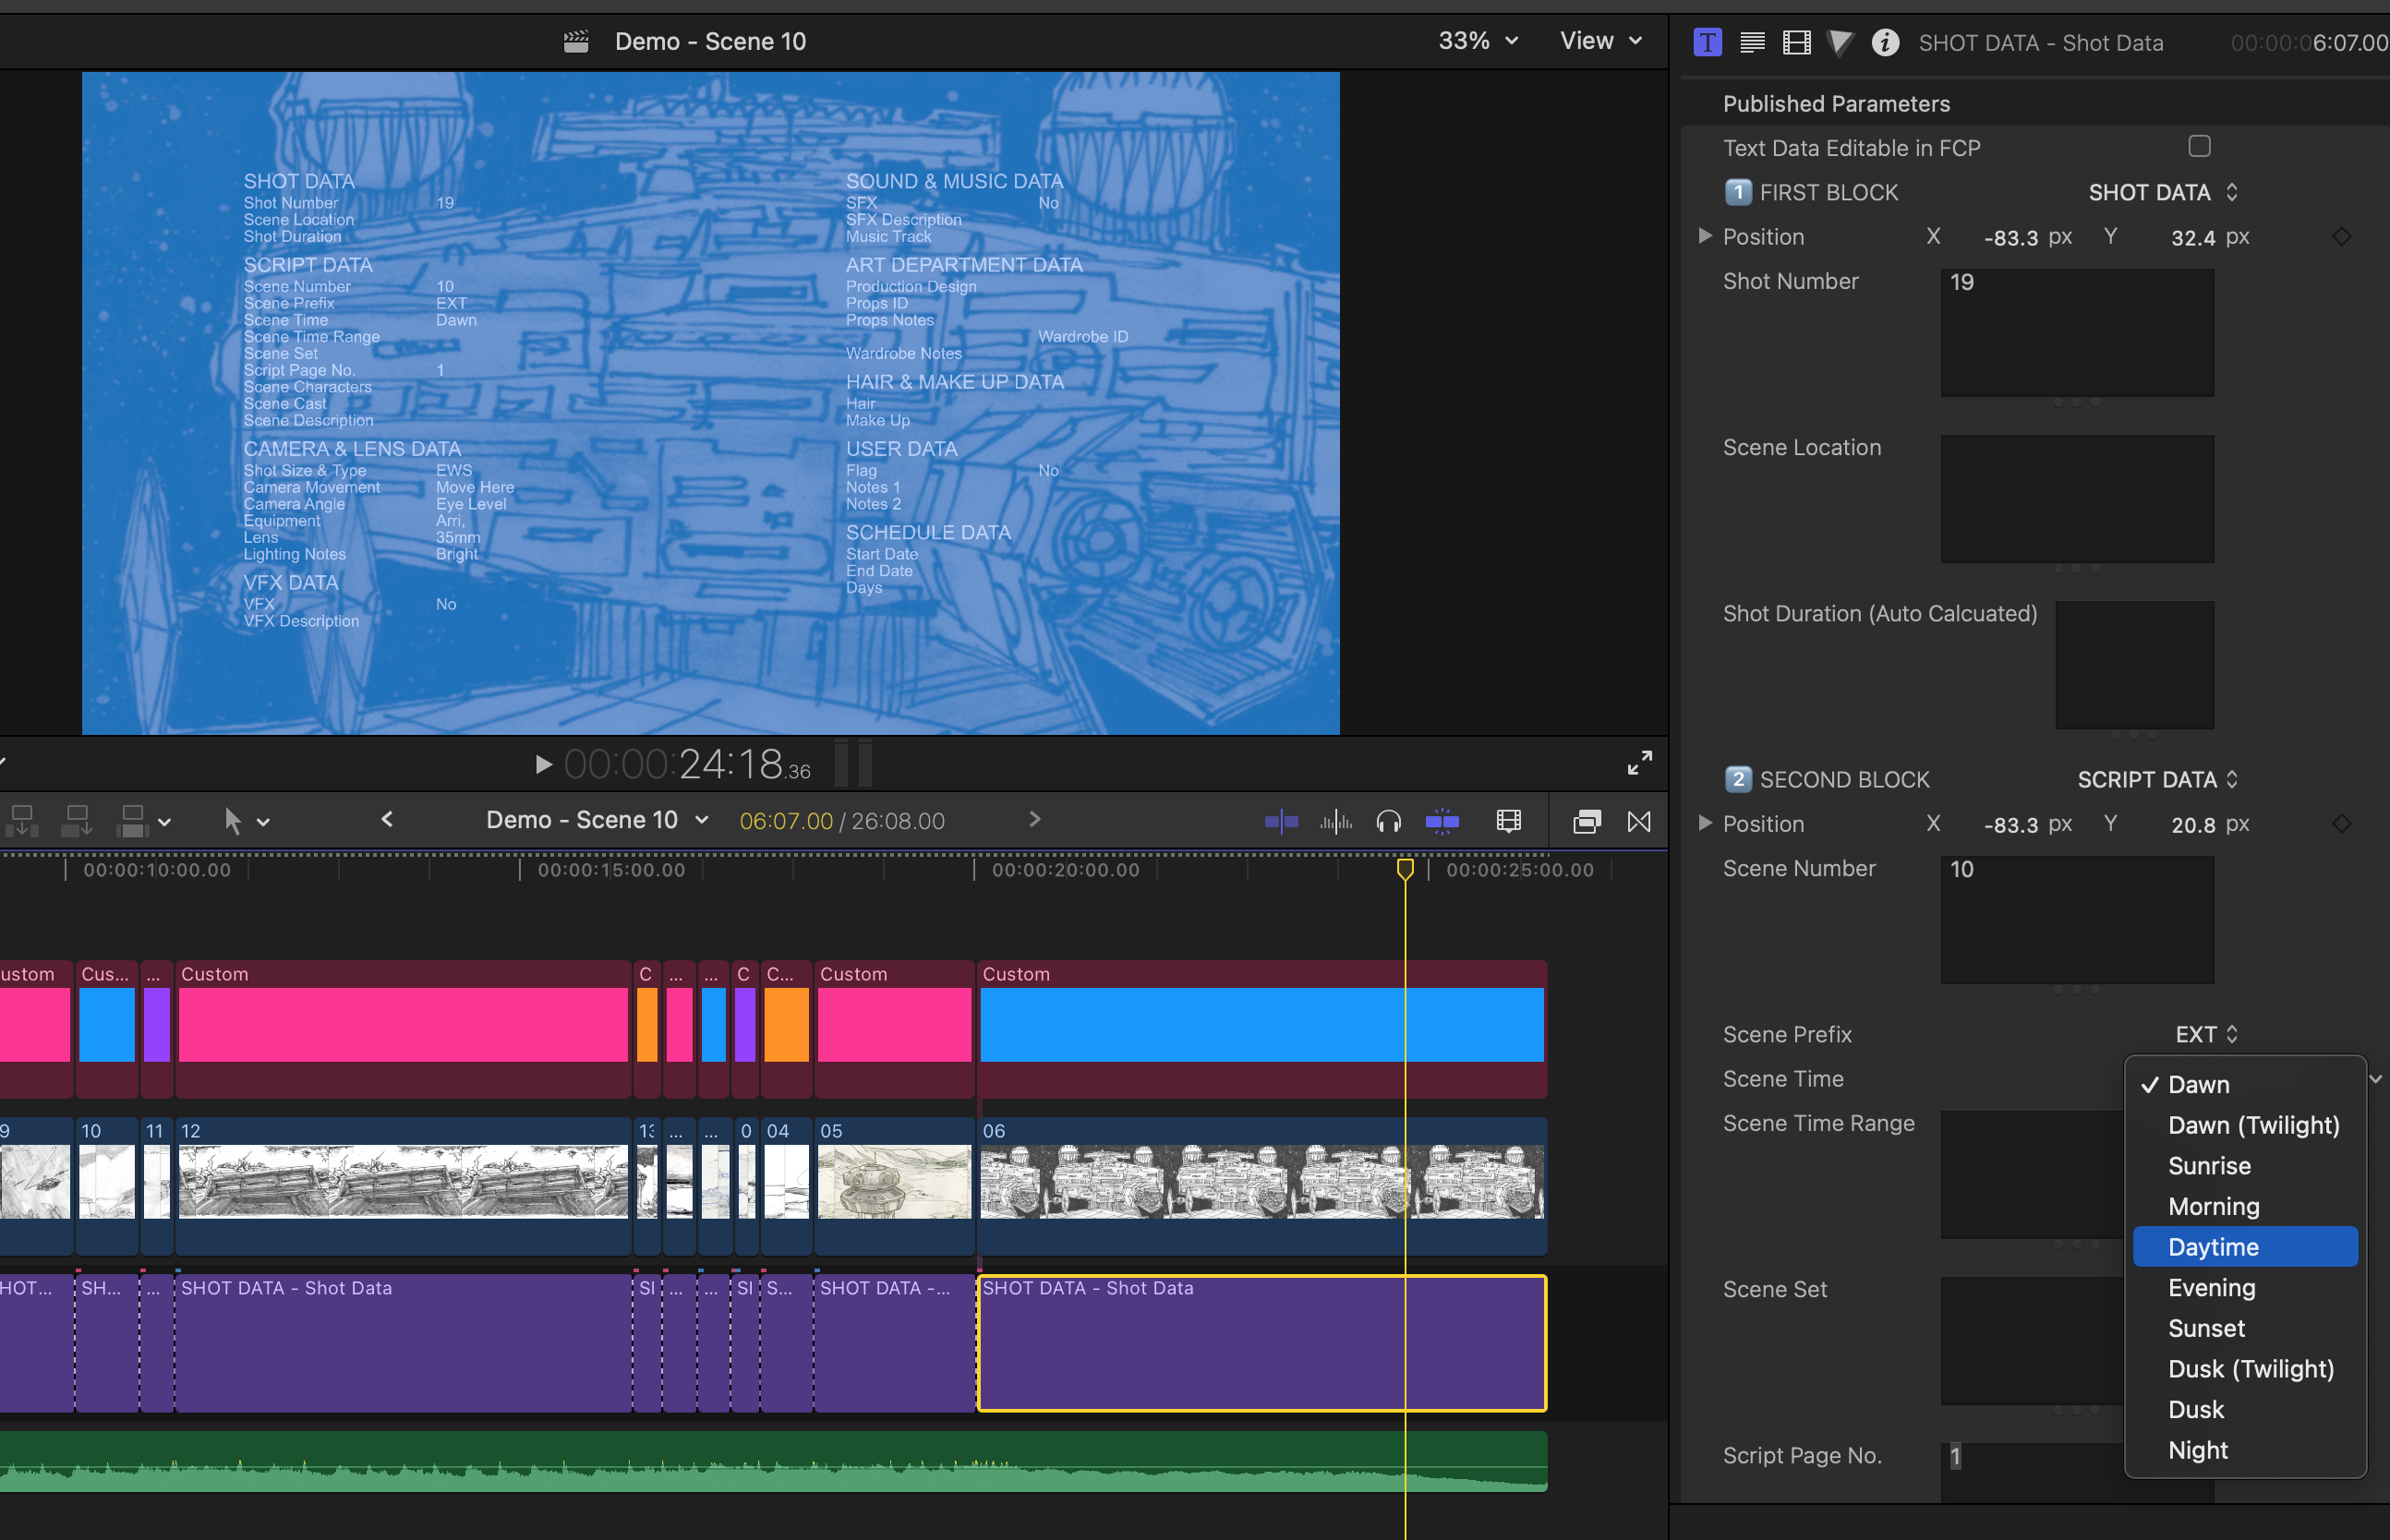
- Take a look at the Published Parameters of the Shot Data Template. Don’t get overwhelmed with the number of fields. 😳
Info
You need not have to tabulate data in every field. They are published for greater versatility and flexibility when generating the *.csv.
- Back in your timeline, perform an Extend Edit
Shift+Xon Shot Data Template.

- Go back to the Published Parameters of the Shot Data Template, enter your desired shot information pertaining the timeline and scene. If your entire timeline is meant only for scene 10, enter in
10in the Scene Number field. Enter01under Shot Number.
Info
For the purpose of sorting, use a 2 digit numbering with padding for the Shot Number field. You can also use 3 digit numbering with padding if you desire. It is unlikely that you would require more than 100 shots within a single Scene.

- Back in your timeline, press
CMD+Gto create a secondary storyline for the Shot Data Template. Using the Blade Tool, cut the Shot Data Template base on existing edit points. If you have Snapping enabled, all of the edit points should be identical across all 3 connected storyline.

- In order for CommandPost to the process Shot Data Template with the connected images, the storyline needs to be reordered. Both of the connected storylines need to be broken apart using
Shift+CMD+G. To bring the visibility of the Shot Data Template’s Text on screen, you can reduce the opacity of the Images and Custom Solids to your desired value.
- Make sure you have entered and selected all the values within each Shot Data Template instance. You are required to enter a unique Shot Number
01,02,03,04and so on for each Shot Data Template instance. If you have 19 cuts in your timeline, you should have 19 instances of Shot Data Template.
Info
At this point, you can enter as much of Shot Data information pertaining each shot. Example: Scene Description, Wardrobe Notes and etc.
But if they are going to be the same for continuing shots, leave them as blank. You can copy & paste them easily later in Notion.
- We are finally done with Part 1! Here comes the fun Part. 🥳
Duplicate my Shot Data Template into your Notion Workspace. You can rename the template to your desire.
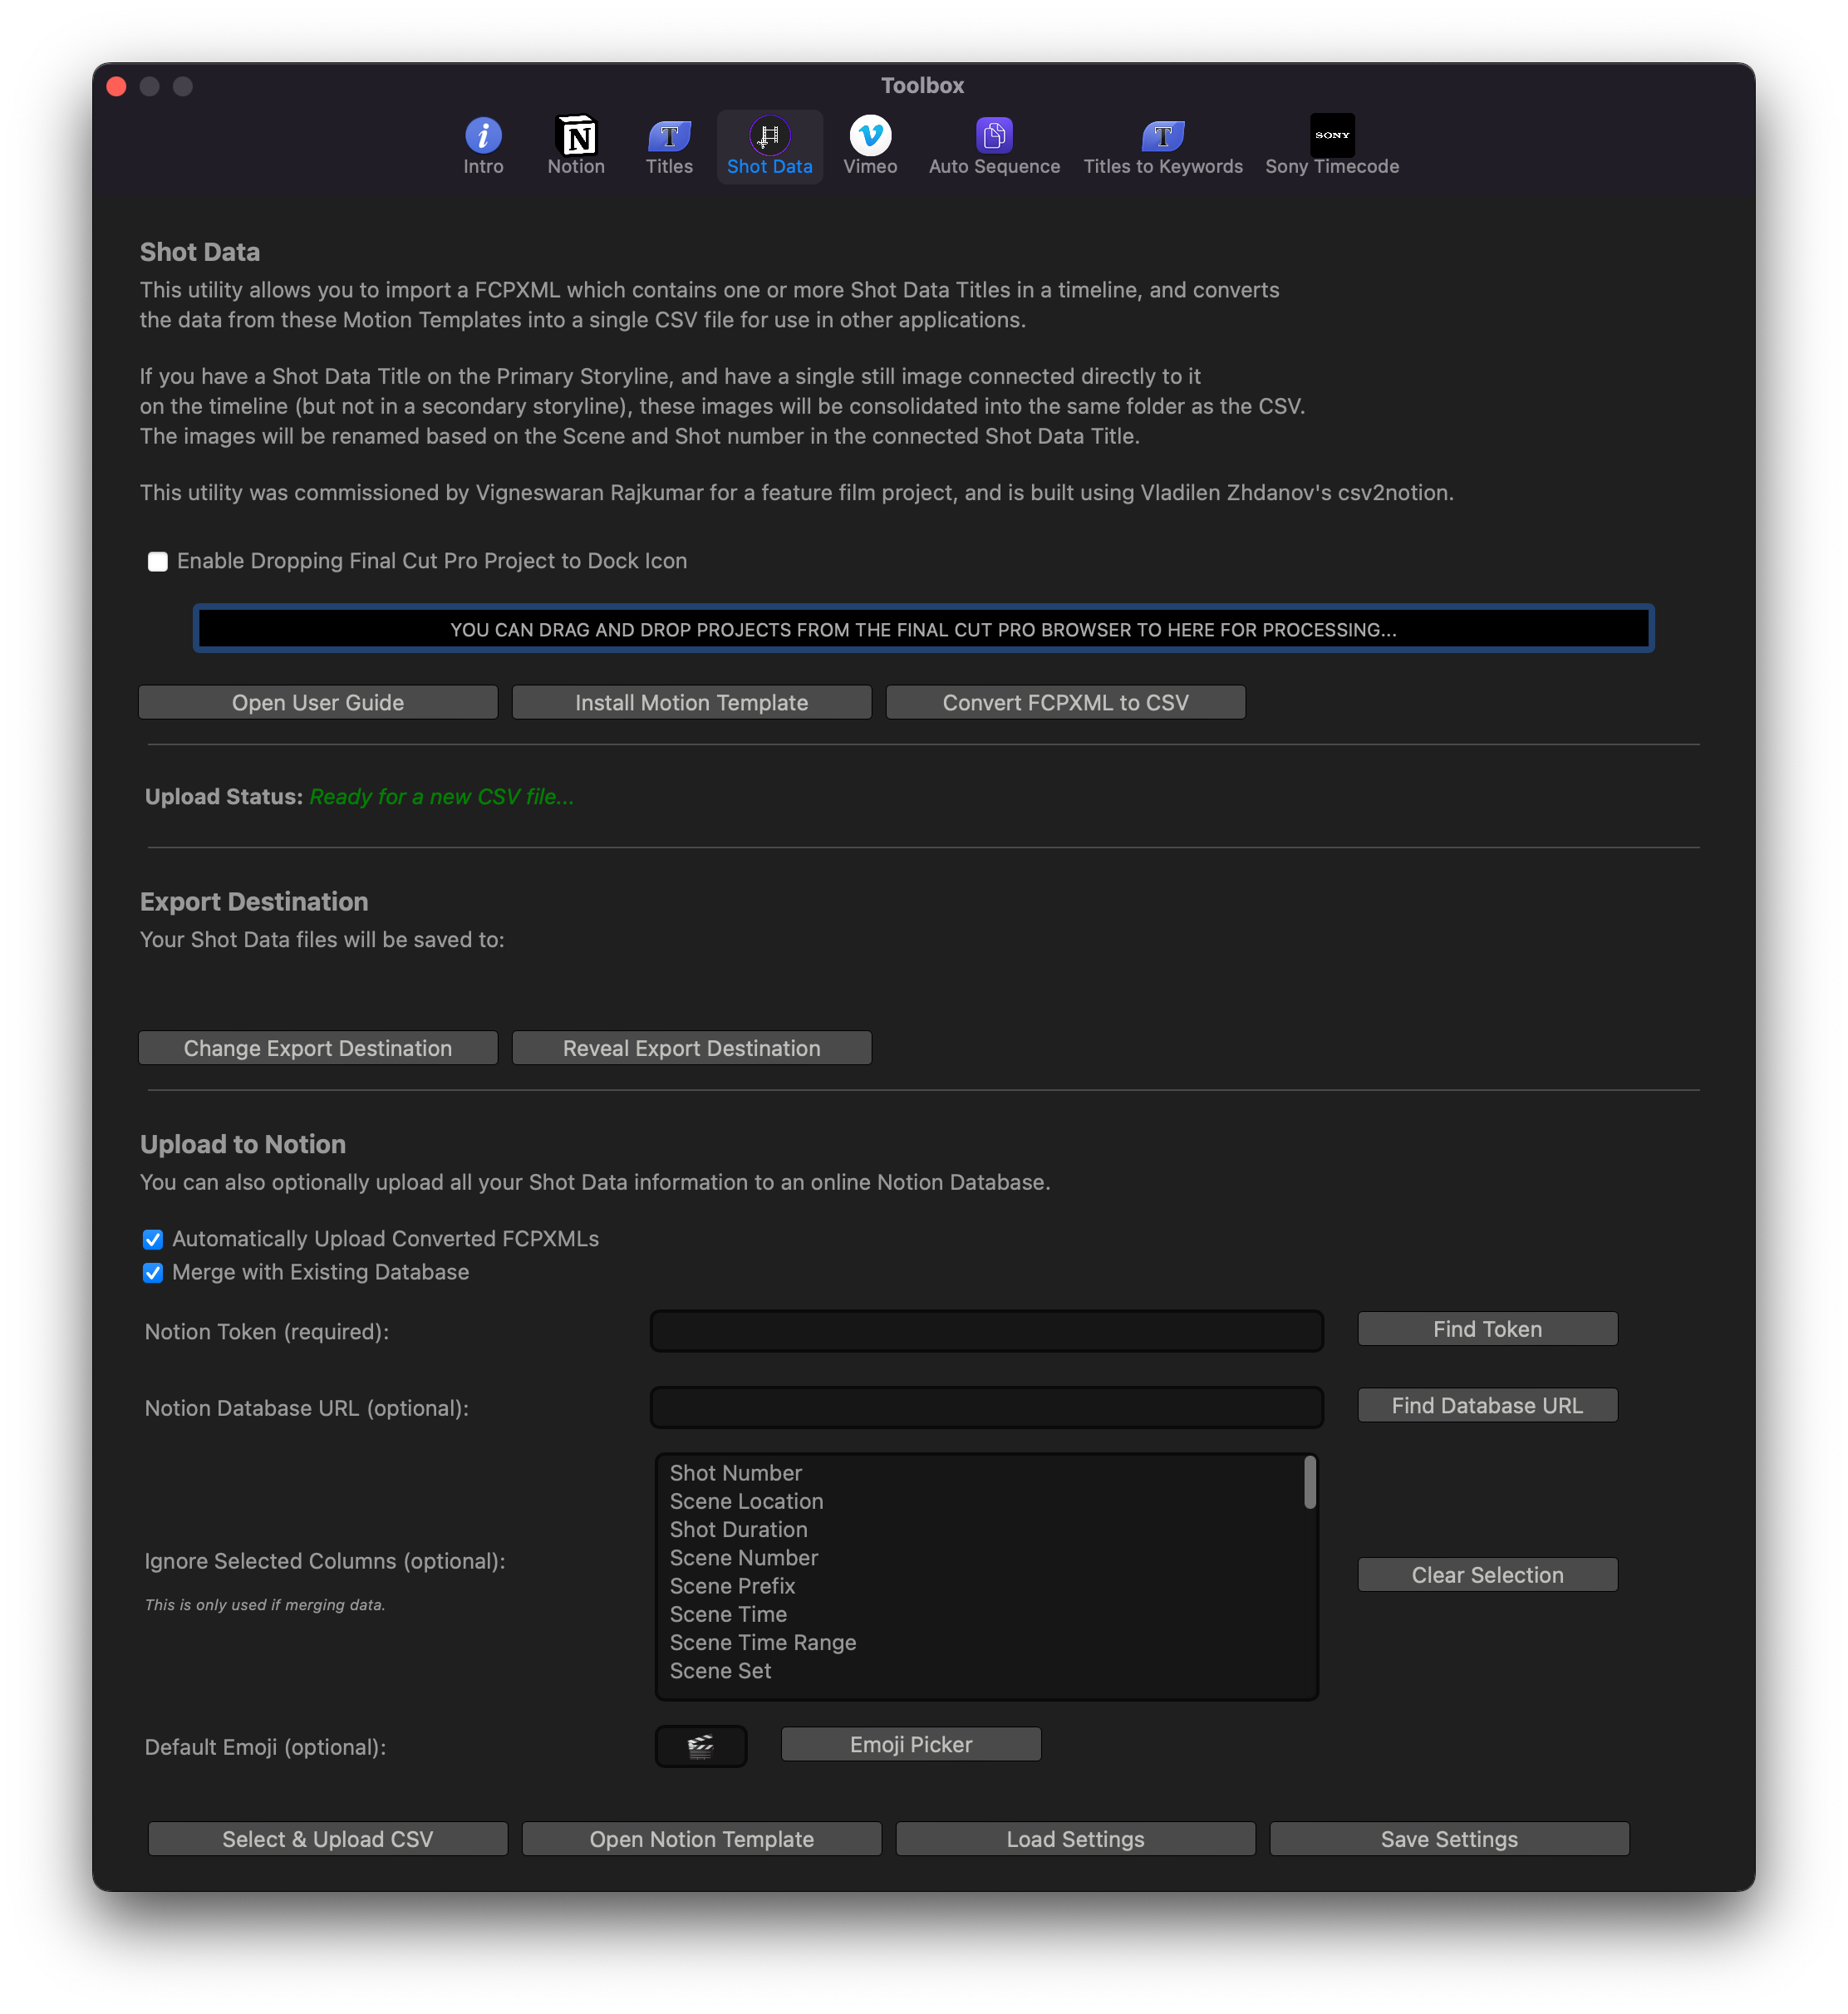
Select Shot Data from the CommandPost’s Toolbox Menu.
Paste your Notion v2 Token in the Notion Token field. Make sure both Automatically Upload Converted FCPXMLs and Merge with Existing Database are Checked.

Info
Please take note that your Notion v2 Token may expire after some period of time. You would have to obtain it again.
From your duplicated Shot Data Template, Copy Link to View and paste the URL into the Notion Database URL field.
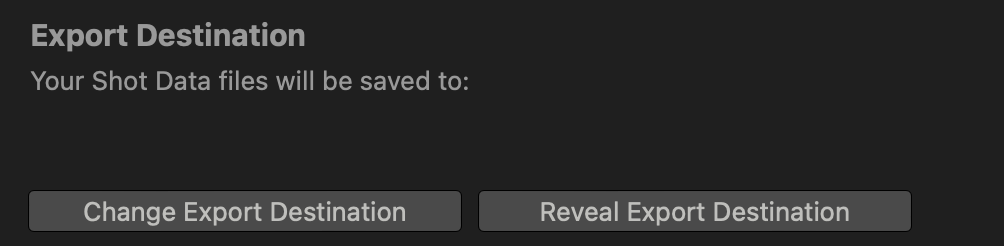
Select your preferred Export Destination by pressing on Change Export Destination.
- Drag & Drop your your Project into Shot Data’s Toolbox XML Drop Zone.

- Watch as the magic happens!
Info
The upload speed is dependent on your internet connection and Notion’s servers.
If you have 19 shots within your Project’s Timeline, you should technically have 19 records automatically created within your Notion’s database.
This is the very essence of Shot Data Workflow. Repeat the process for the rest of your Scenes in Final Cut Pro. Your Notion’s database will grow overtime.
#Advance Usage - Shot Data
Info
You could mount your iPhone or iPad to your Camera Rig and to your Director's Monitor Cage.
Make sure you have read and understand Notion’s documentation on Relations & Rollups.
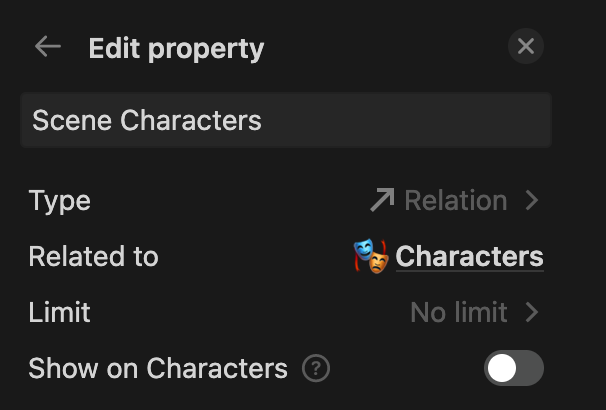
You can create separate databases for Scene Characters, Scenes, Sets, Locations, Wardrobe and so on.
Once you have created individual databases for each Property.
In the property menu, Choose Relation from the Type menu.
You'll be asked to find the database you want to create the relation with. You can use the input at the top to search for this database.
- In Shot Data Template of each instance, back in Final Cut Pro, you can enter the Exact name of that record from your Characters database.

Info
If you have added Luke and Yoda in your Characters database, enter Luke,Yoda. It is case-sensitive. And if you have more than 1 item for the field, have to separate them with ,.
- Now when you Drag & Drop your your Project into Shot Data’s Toolbox XML Drop Zone, Shot Data will automatically match and link the record with the associated relation in Notion during the upload.
- As mention, you can create separate database for Scene Characters, Scenes, Sets, Locations, Wardrobe and so on.
Info
Set up all relevant and vital databases in Notion before you commence your work in Final Cut Pro with Shot Data Template.
- In a scenario where your Images are updated in Final Cut Pro, you can batch update your existing Shot List database in Notion using Ignore Selected Column feature.
Info
In order to batch update your records, couple of conditions have to be met. The Shot Number and Scene Number have to be matched and identical. And the number of edits have to be identical.
- Select all the Columns except Scene Description and Image Filename. The Scene Description will always be used as the Image’s Caption within Notion.

Now when you Drag & Drop your your Project into Shot Data’s Toolbox XML Drop Zone, Shot Data will only upload and update the images that are embedded within each record.
You can also update other Columns if required.
Info
If your entire scene in Final Cut Pro is updated with a different set of cuts, the best course of action is to delete that affected range of Scene or Shot records in Notion. And perform a fresh set of upload in Shot Data’s Toolbox.
In Notion, you can customise your pages with Icons.
The default icon for all the records is. 🎬.

- You can click on the Emoji Picker button to change to a different Emoji.
Info
You can get creative with emojis. You can assign ☀️ sun emoji for day scenes and 🌑 moon emoji for night scenes.
As you get comfortable with Shot Data workflow and Notion, you would have multiple Shot List database within Notion for different projects. You might also hold multiple Notion accounts, Personal and Teams.
You are able to Save Settings for multiple configuration.

- You can recall different configuration by pressing Load Settings.
- Check CommandPost’s Dock Icon, under Preferences, General.
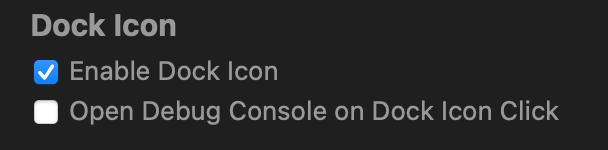
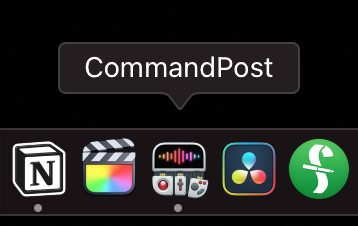
- CommandPost’s Dock Icon will appear in your Dock.
- Check Enable Dropping Final Cut Pro Project to Dock Icon.

- You can now Drag & Drop Project’s Shot Data Sequences into CommandPost’s Dock Icon easily without opening Shot Data’s Toolbox.
Info
Please make sure you have pre-configured all your settings within Shot Data’s Toolbox.
#FAQ
- Yes. You can uncheck Automatically Upload Converted FCPXMLs in Shot Data’s Toolbox.
- All Shot Data files are stored in Export Destination folder. Press Reveal Export Destination to open the folder.
- In each sub folders, you will find the
*.csvfile with the accompanying images auto renamed. - You can import the
*.csvto any application that accepts it.
Interestingly, I initially experimented Shot Data with Airtable. Airtable offers a superior database system compared to Notion. However, Notion offers greater affordability, superior embeds, note-taking features within each page, comparatively.
If you are an Airtable user and would like to use the Shot Data files in your Airtable’s database, get in touch with me .
#Afterthoughts
This workflow would be particularly advantageous if you are the Writer, Director and Editor; or at least collaborating with an Editor in the early development phase. You could pursue through your vision from storyboard, pre-cut to actual principal photography and back to editorial in Final Cut Pro. Be it short-form or feature form, this workflow should be applicable across.
Last Edited : 24th August 2023
Workflow Created by Vigneswaran Rajkumar
Shot Data’s Toolbox Programming was made possible by Chris Hocking
Notion’s Import Tool by Vladilen Zhdanov
Initial Motion Template rigging was assisted by Peter Wiggins
Empire Strikes Back storyboard illustrations by Joe Johnston and Nilo Rodis-Jamero